How To Create Custom Gutenberg Blocks
Table of Contents
After seeing the latest updates, I started to love Gutenberg. As I can see, in a few years, Gutenberg is going to win the WordPress Page Builder’s war. Maybe not anytime soon. But, Gutenberg is already bringing a lot of significant changes to the WordPress world. In their latest update, they have brought huge improvements in performance. So, in this tutorial, I am going to show you how to create custom Gutenberg blocks the easy way.
Let’s dive in.
Step One: Install the Genesis Custom Blocks plugin
Here, in my tutorial, I am using a plugin called Genesis Custom Blocks. They offer a premium package but the free version is more than enough to build some simple custom Gutenberg blocks without much effort.

Go ahead and install the plugin to your WordPress website and activate it.
Step Two: Let’s create our first custom Gutenberg block
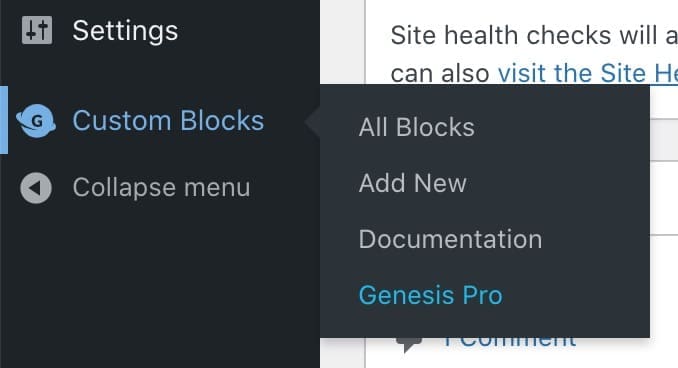
Once you installed the plugin, you will notice that there is a new menu item in the dashboard called Custom Blocks.
Click on Add New and it will bring up the below screen where we can create our custom Gutenberg blocks.

You can do any type of custom Gutenberg blocks with this free version of the plugin and I am going to create a customizable Testimonial Block here in my tutorial. To start give it the title and click on the black + icon to add a field. There are two kinds of fields that we can use to build our block. ‘Editor Fields’ and ‘Inspector fields’.
Editor Fields: These are the fields that we can use in the page editor section. Like a title field, paragraph field, buttons, etc.
Inspector Fields: We can use these to set background images, font sizes, colors etc.
The free version of the Genesis Custom Blocks plugin provides the following types of fields which we can use while building the custom Gutenberg blocks:
- Checkbox
- Color
- Image
- Multi-Select
- Number
- Radio
- Range
- Select
- Text
- Textarea
- Toggle
- URL
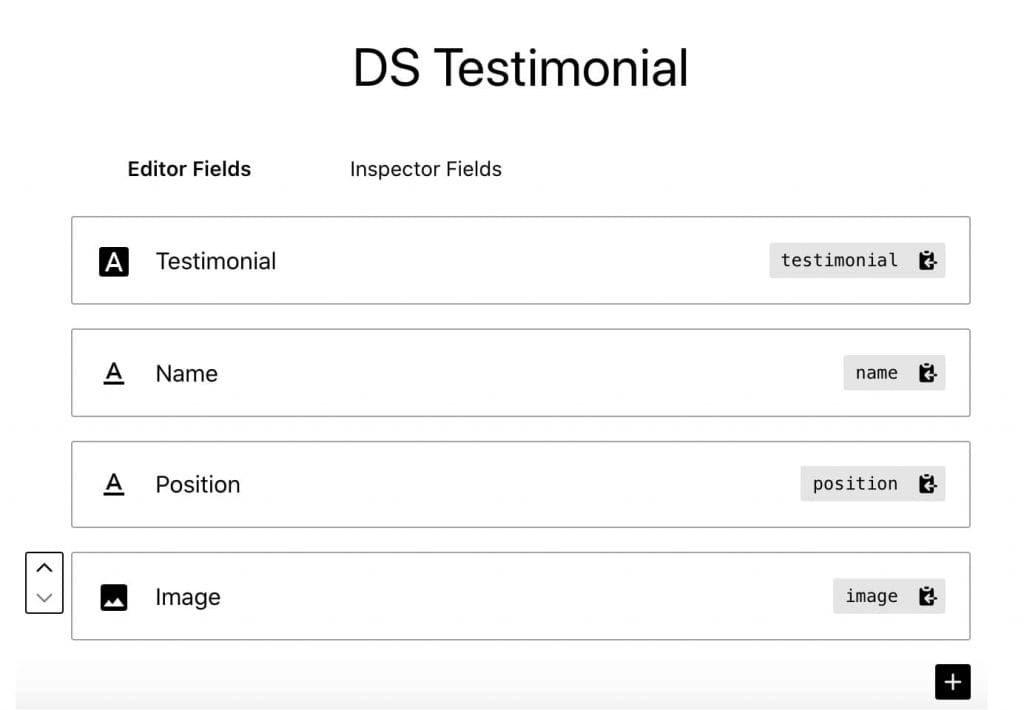
So here in my Testimonial Block, I am using the following fields.
- Text Area: For the testimonial paragraph
- Text: For the name of the person
- Text: For the position of the person
- Image: For the testimonial image
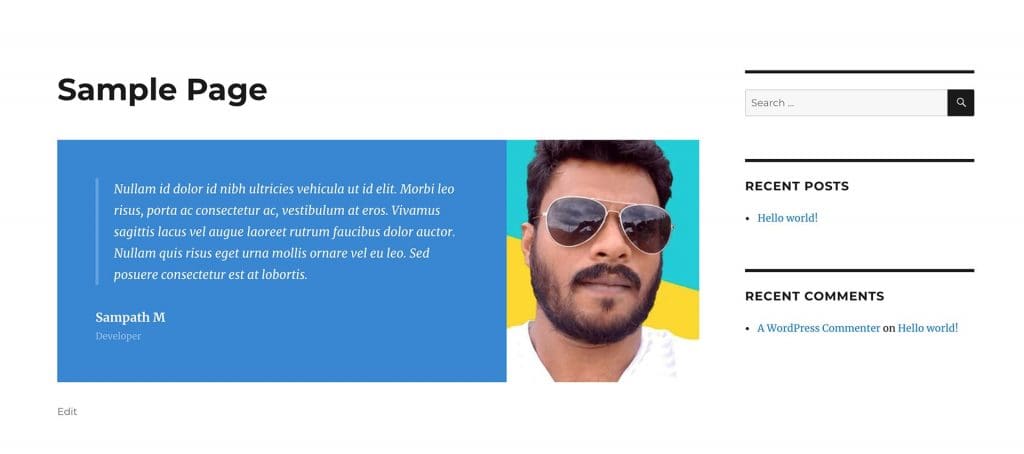
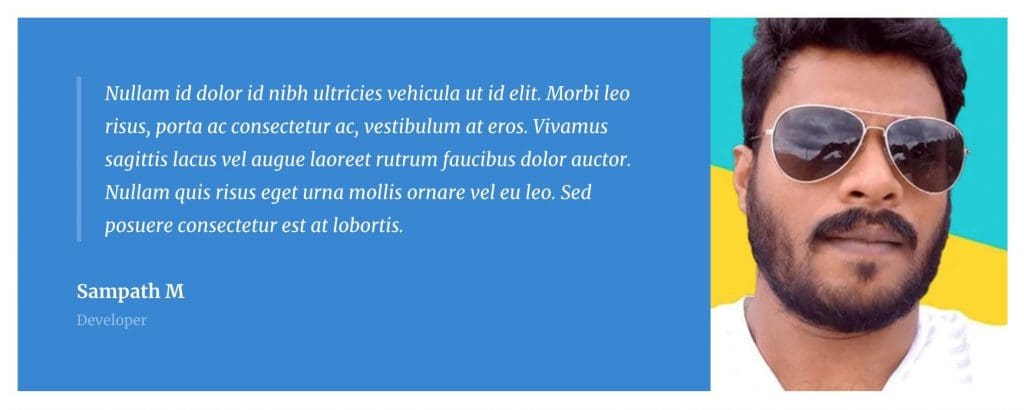
So, here is what I am going to build. We have a paragraph, the name, the position, and an image on the right side. I have used the image as a background image here.
Let’s start adding our fields to the custom block. Below you can see what I added to the editor screen.
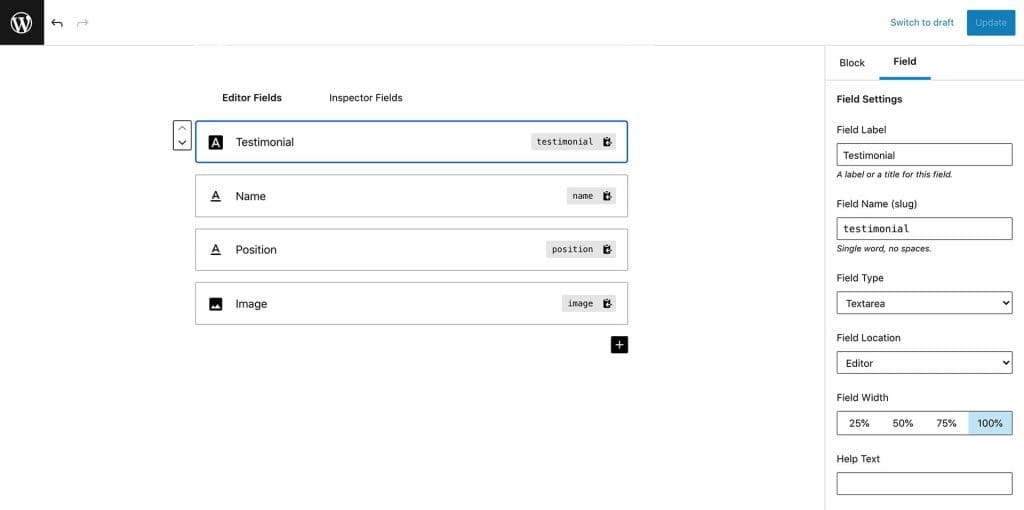
Once you click on an item here you will find the related settings on the right-hand side panel. Play with those settings yourself and try to understand how things work here. Give your fields unique names and slugs. We are using the slug in our PHP code to grab the data.
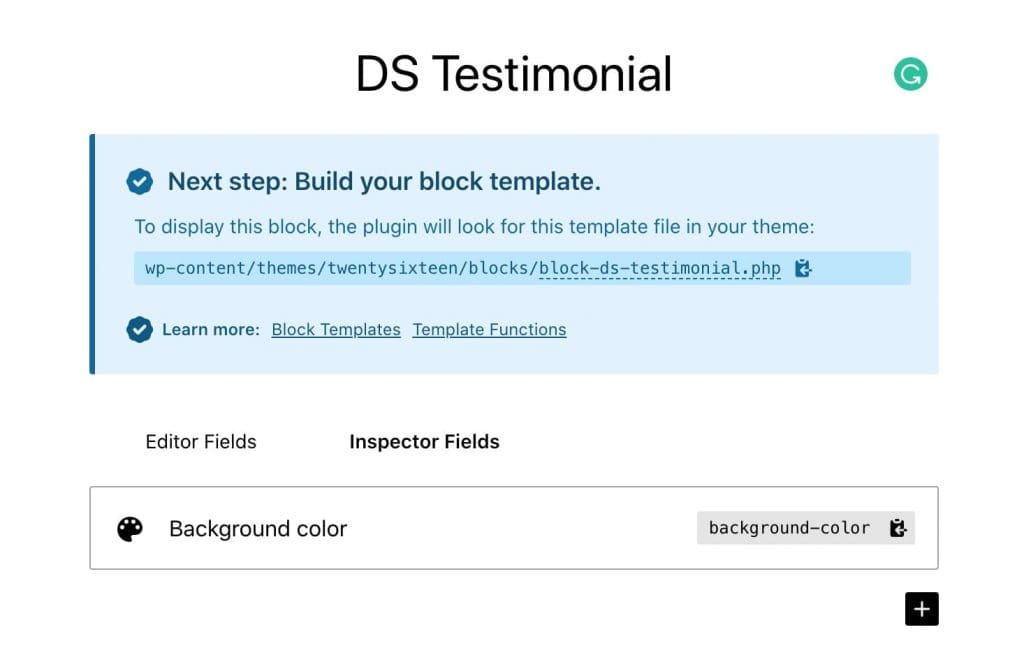
OK. let’s create an Inspector Feild item to change the background color of the block. I am choosing the ‘Inspector Filed‘ tab and adding a ‘Color‘ setting to the area.

OK, We are done with adding feilds. Now we have to create two files to make this works. one PHP file and a CSS file. (Don’t worry, they are really simple and easy to create. Just a few lines of codes which you can copy-paste) Did you see the below message while creating the custom block on the editor screen which says what files you need to create?
Step Three: Create the PHP and the CSS file
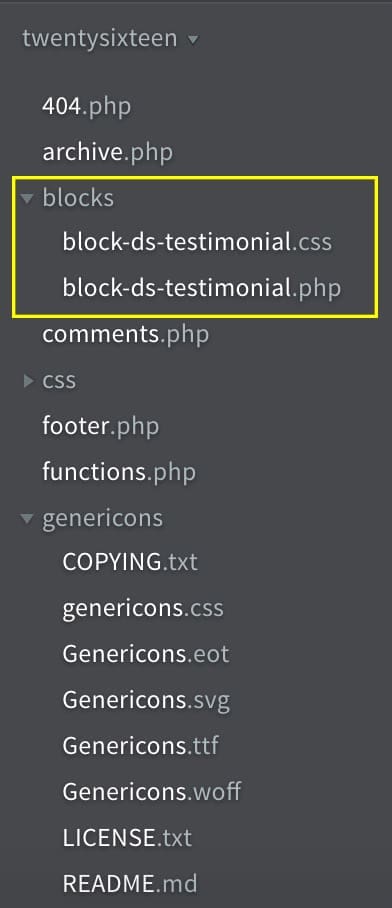
Go to your themes folder. (If you are on a live server you have to use an FTP client like Filezilla to open up the files and folders. ) So, inside your current theme’s directory create a new folder called ‘blocks‘.
Important: If you are using a child theme this should be inside the child theme’s folder.
You need to create two files inside the ‘blocks‘ folder. The filename should be similar to what the plugin suggests. So in my tutorial, I am creating block-ds-testimonial.php and block-ds-testimonial.css files inside my ‘blocks‘ folder.
Once you created your files open them in a text editor like Brackets, VSCode, Notepad++, etc. Below is the skeleton of the layout which I have added to the block-ds-testimonial.php file.
https://diywithwp.com/5-best-code-editor-for-wordpress-developers/
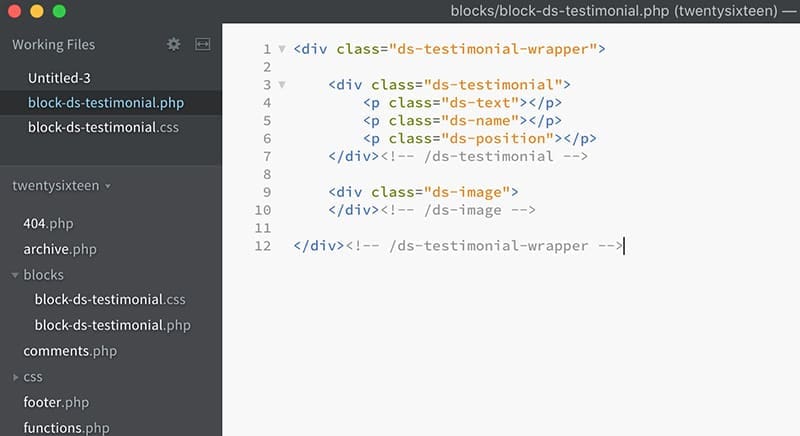
<div class="ds-testimonial-wrapper">

    <div class="ds-testimonial">
        <p class="ds-text"></p>
        <p class="ds-name"></p>
        <p class="ds-position"></p>
    </div><!-- /ds-testimonial -->

    <div class="ds-image">
    </div><!-- /ds-image -->

</div><!-- /ds-testimonial-wrapper -->
That is the basic layout of our custom block. Now I am going to insert dynamic content into the layout using a simple PHP function.
So, below is the full version of the code.

<div class="ds-testimonial-wrapper" style="background-color:<?php block_field( 'background-color' ); ?>;">

    <div class="ds-testimonial">
        <div class="ds-text"><?php block_field( 'testimonial' ); ?></div>
        <p class="ds-name"><?php block_field( 'name' ); ?></p>
        <p class="ds-position"><?php block_field( 'position' ); ?></p>
    </div><!-- /ds-testimonial -->

    <div class="ds-image" style="background-image:url(<?php block_field( 'image' ); ?>)">
    </div><!-- /ds-image -->

</div><!-- /ds-testimonial-wrapper -->
Go ahead and copy this code to your PHP file. Don’t forget to change slugs in each field if you used something different from my version.
We use the below PHP code to grab the dynamic content. Use the field’s slug inside the parenthesis.
<?php block_field( 'testimonial' ); ?>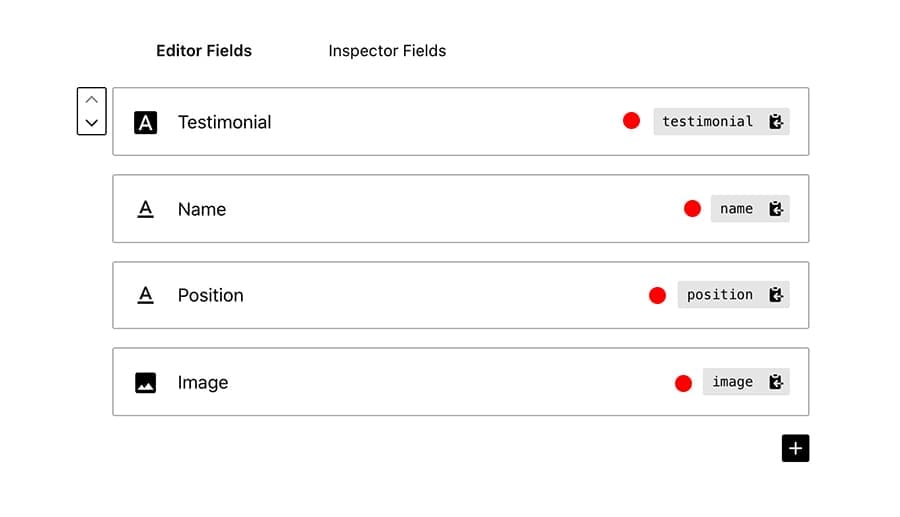
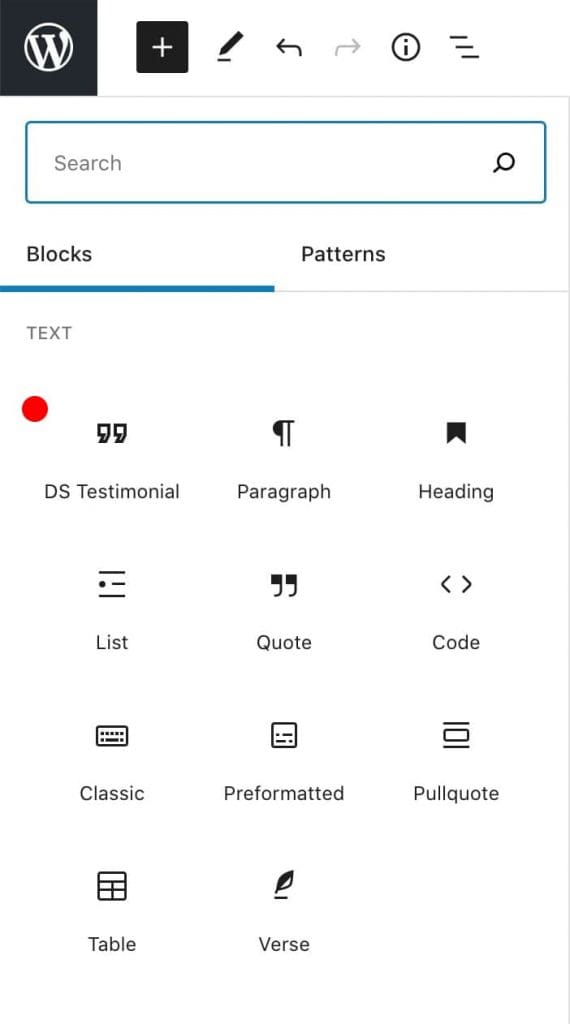
Step Four: Add the custom block to the page
Now, Let’s go to the page and add the custom Gutenberg block we just created to the page. Start to search by the name and you will see the custom block there. 🙂
I created a short video to show you how to add the block to the page.
As you can see it is pretty basic at the moment on the front-end. The image is not showing as we are using it for the background.
Let’s go ahead and make it looks wonderful by adding some CSS.
Step Four: How to style your custom testimonial block
Can you remember that we created two files? One PHP file and a CSS file with the same name? OK, now we are going to add some CSS snippets to that CSS file. Below is what I did. You can just copy-paste the below snippets and change them the way you want.

.ds-testimonial-wrapper {
    display: flex;
    flex-direction: row;
}

.ds-testimonial {
    width: 70%;
    color: #fff;
    padding: 50px;
}

.ds-image {
    width: 30%;
    background-size: cover;
    background-position: center;
}

.ds-text {
    border-left: 4px solid #ffffff38;
    padding-left: 20px;
}

.ds-text p {
    font-style: italic;
}

p.ds-name {
    padding: 0;
    margin: 0;
    font-weight: bold;
}

p.ds-position {
    font-size: 12px;
    margin: 0;
    opacity: 0.5;
}
OK, We are done with creating our custom Gutenberg block. Below is the final result on the front end. Looks awesome. right?