Customize WordPress login page: The ultimate guide
Table of Contents
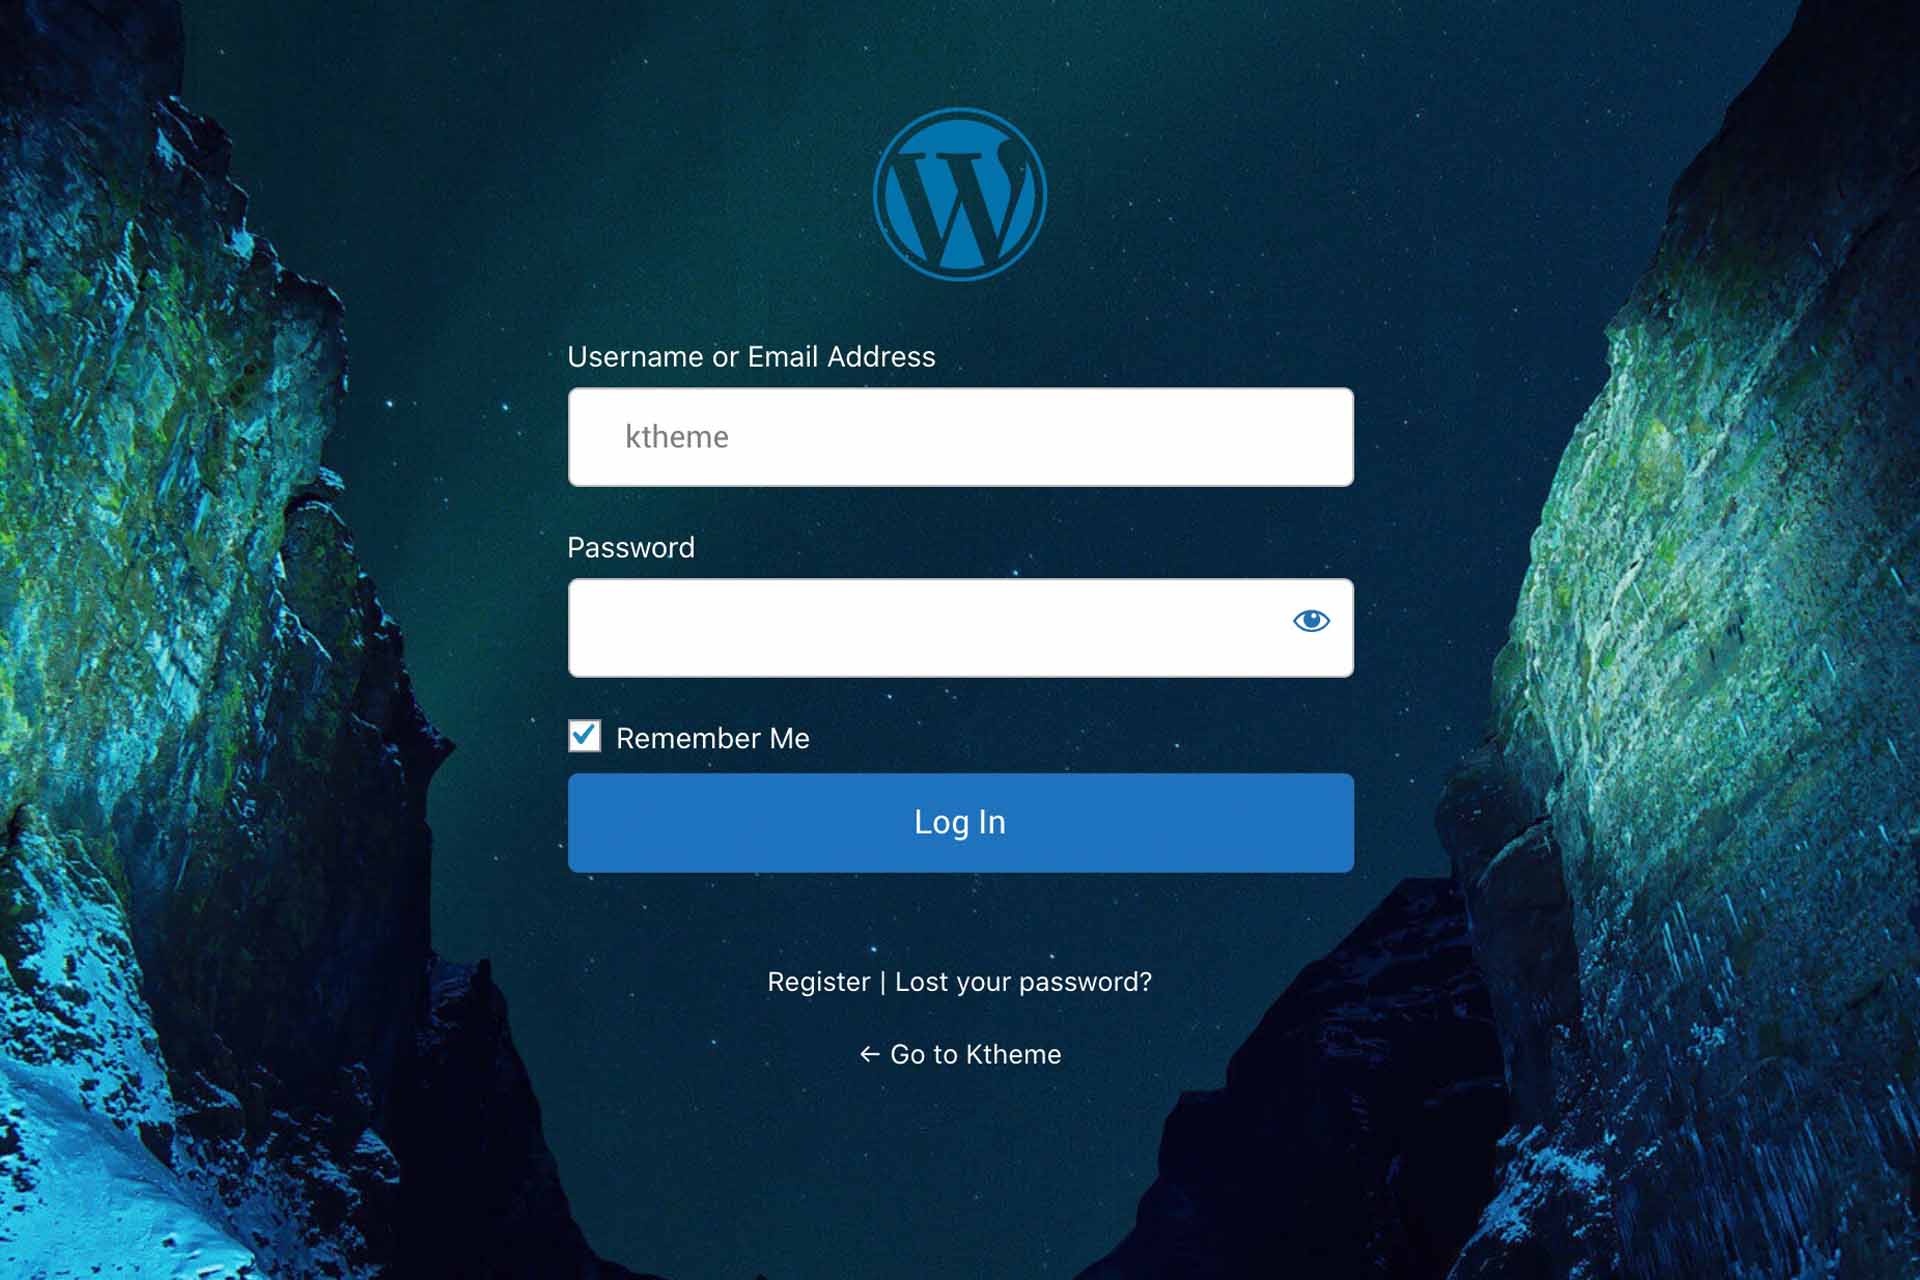
Are you tired of seeing the same WordPress login page over and over again? If you have a regular website, your visitors do not see the login page. But If you have a membership site or an online shop then they will see the default WordPress login page which is a bad user experience. So I decided to write an easy guide on how to customize the WordPress login page. This is a complete guide that you can easily follow.
What you are going to learn today:
There are plugins that you can use to customize the login page layout/design of your website. Here, in this article, I am going to talk about two of them and show you how to customize the login page with those two. Also, finally, I will show you how to change the login page’s WordPress logo to your own logo the manual way. Without using any 3rd party plugins.
Ok, let’s dive in.
Customise WordPress login page with LoginPress
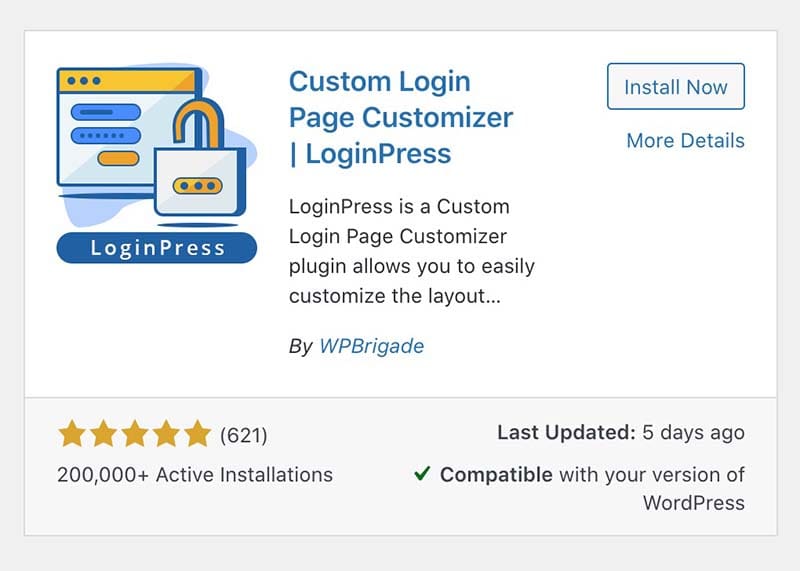
LoginPress is a free plugin that you can download from the WordPress plugin repository. There is a pro version but the free version is more than enough for what we are going to do today.
Head over to the Dashboard > Plugins > Add New and search for LoginPress. Once you found it click Install Now and activate it.
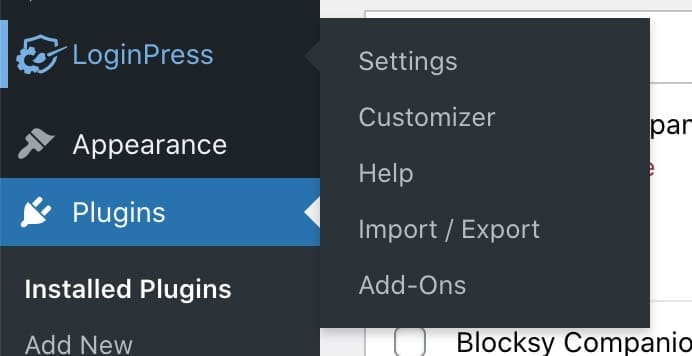
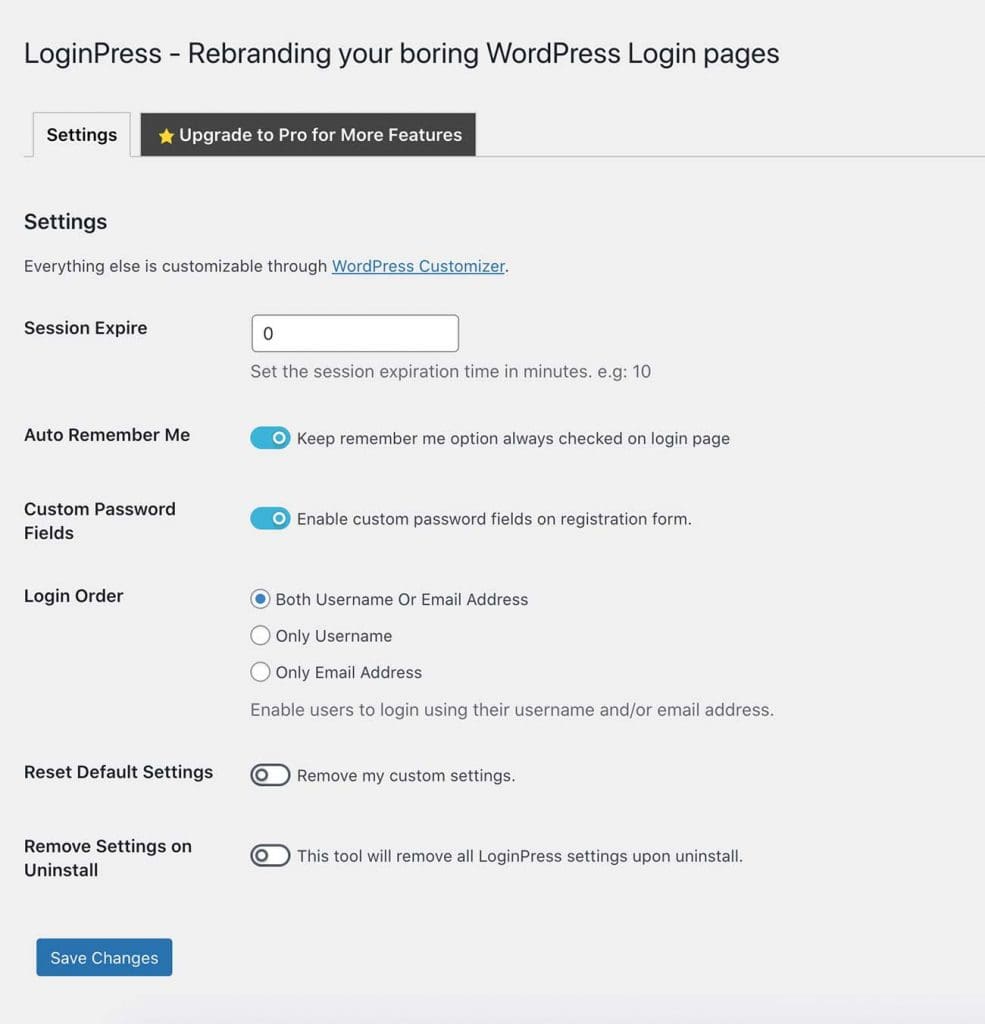
Upon activation, the plugin will add a new menu item ‘LoginPress‘ to the dashboard. Just click on the LoginPress > Settings sub-menu to set the plugin’s basic settings.
LoginPress basic settings
On the settings page, you can set some basic things like show/hide to remember me option, session expiration time, custom password field on registration field, etc. (Normally it shows only the username and email field on the register page).
Brand your WordPress login page
Once you are done with the basic settings let’s move to style the login page. Click on the Customizer link and it will open up the WordPress Customiser. Yes, the styling setting for LoginPress is inside the WP Customizer.

As you can see above the plugin offers a lot of options to customize our login page.
- Logo: Here you can add a custom logo and change the size, link etc.
- Background: You can change the background image and related settings here. Also, if you like, you can use a video as the background too.
- Customize Login Form: In this section, you can play with the appearance of the login form.
- Customize Forget Form: Here you can add background colour or image for the Forget Password Form.
- Recaptcha: You can add Recaptcha here but need the paid version of the plugin.
- Button beauty: Change the Login button styling here.
There are a few more settings you can play with. In the end, you will have a branded login page which is better for the user experience. So your customers or readers will never see that basic, default WordPress login page again.
That’s how you can customize the login page with LoginPress. Let’s check the other plugin in the list.
How to customize the WordPress login page with the Theme My Login plugin
Theme My Login is another great plugin that you can find in the WordPress plugin repository. Just go to Plugins > Add New and search for Theme My Login.
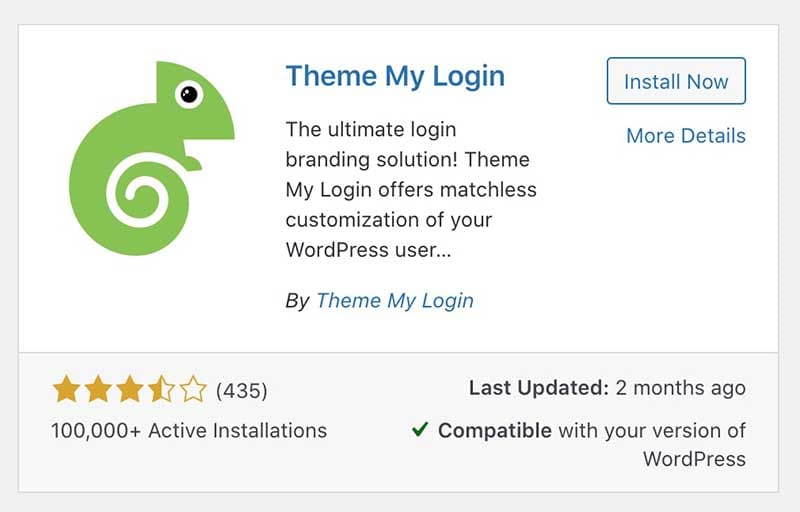
Install and activate it. Once you activated the plugin you will see the newly added menu item Theme My Login in the dashboard.
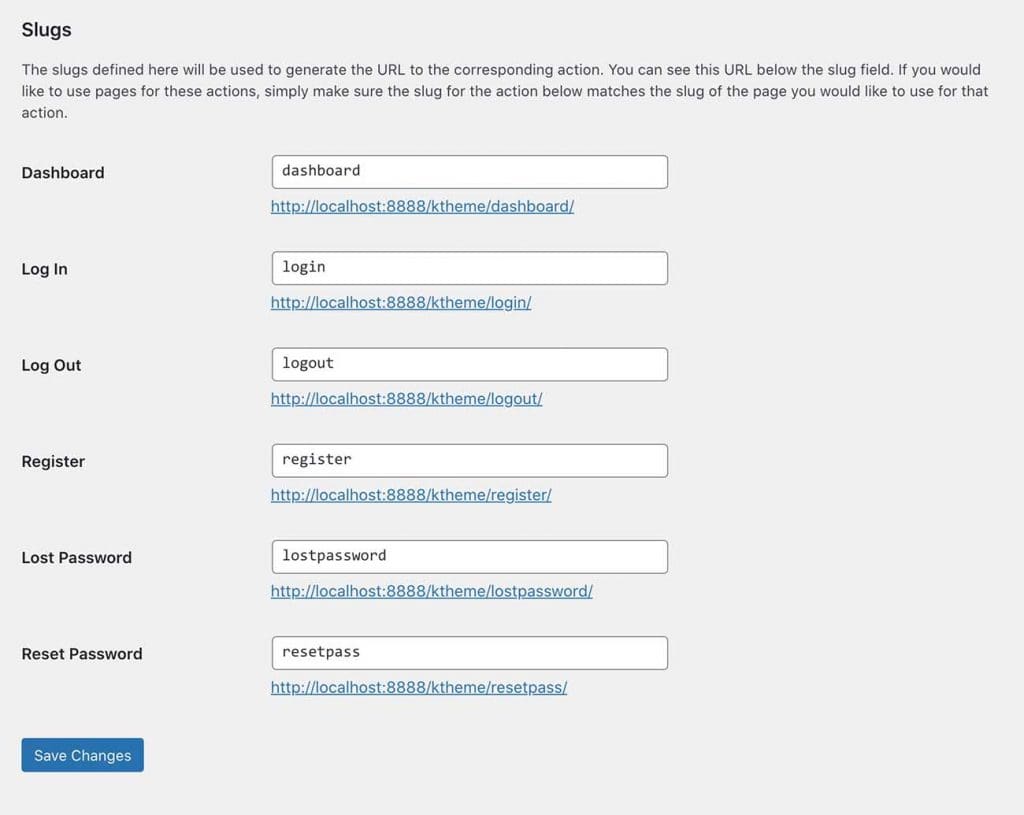
This plugin is different from what we discussed earlier. Instead of styling the WordPress default login screen Theme My Login plugin creates custom URLs for your login page, logout page, registration page, forgot password page, and reset password page. As you can see in the below screenshot www.yourtheme.com/wp-admin is not your login page anymore. This plugin changes it to www.yourtheme.com/login. You can change this to something unique that will give another layer of security to your WordPress site.
Additionally, Theme My Login allows you to create custom pages and add the corresponding forms to the created pages. That way you can have unique, custom login, register pages for your website. Let’s dive in and see how to do that.
Head over to Pages > Add New. Create a new page and publish it. Then add a new Shortcode Block to the page and paste the below shortcode inside.
[theme-my-login]
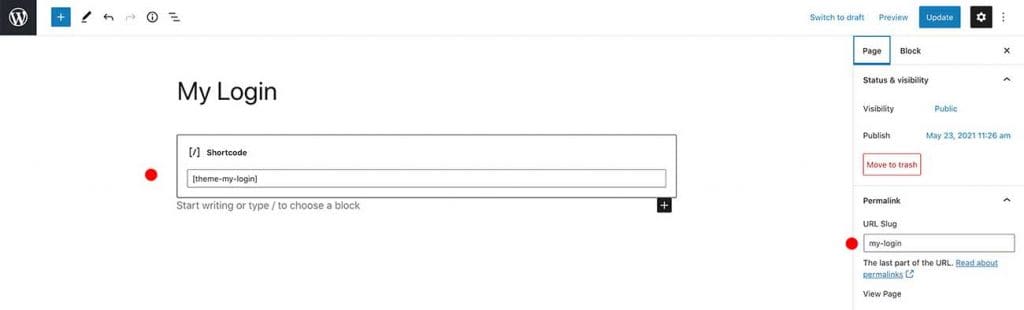
Then copy the URL-slug from the Permalink meta box on the right side. We need to paste this slug in Theme My Login settings page as I have done below (check the screenshot).

So now, the newly created page is your login page. As it is just a regular WordPress page you can style it the way you want. No limitation. Move forward and style the page to match your company branding.
You can do the same for other pages like register, forget password, reset password, etc. Below are the shortcodes to use.
- Registration form : [theme-my-login action=”register”]
- Lost password page : [theme-my-login action=”lostpassword”]
- Reset password page : [theme-my-login action=”resetpass”]
Don’t forget to update the slugs in the Theme My Plugin Settings page after creating your new login pages.
That’s how you can customize the WordPress login page the easy way. Using some third-party plugins. But there’s another way that will be a bit harder for a non-techy person. We can change the login page logo and the URL just by adding some PHP to the functions.php file. Let’s see how to do that.
Change WordPress Login Logo and URL manually (For advanced users)
If you like to keep the installed plugins count minimal as possible, like me, then this is a good option for you. We can change the login logo and the URL manually by adding some PHP snippets to the theme’s functions.php file and avoid adding another plugin to our website.
Step One: Add the logo to the media library
Go ahead and upload your logo file to the media library and copy the file’s URL.
Step Two: Replace the logo with PHP
Go to Appearance > Theme Editor and select the functions.php file of your theme.
Important: It’s always a good practice to use the child theme when creating a WordPress website.
Scroll down to the bottom of the functions.php file and paste the below PHP code inside.
function my_login_logo() { ?>
    <style type="text/css">
        #login h1 a, .login h1 a {
            background-image: url(http:yourwebsite.com/my_logo.png);
		height:65px;
		width:320px;
		background-size: 320px 65px;
		background-repeat: no-repeat;
        	padding-bottom: 30px;
        }
    </style>
<?php }
add_action( 'login_enqueue_scripts', 'my_login_logo' );
Now update the background-image URL to the logo URL you uploaded in the first step. Play with the CSS width and height settings to match your logo width and height.
So that will update the default WordPress logo you can see on the wp-admin page. But as you already know that logo is linked to the wordpress.org website. With another simple PHP snippet, you can change that URL to point to your website’s home page.
function my_login_logo_url() {
    return home_url();
}
add_filter( 'login_headerurl', 'my_login_logo_url' );

function my_login_logo_url_title() {
    return 'Your Site Name and Info';
}
add_filter( 'login_headertitle', 'my_login_logo_url_title' );
Change ‘Your Site Name and Info‘ to your website name and update the functions.php file. Now go to the wp-admin login page and you will see the logo is updated. Try clicking on the logo. It should redirect you to the home page.
That’s it. That’s how you can customize the WordPress login page to something unique, more personal.