Table of Contents
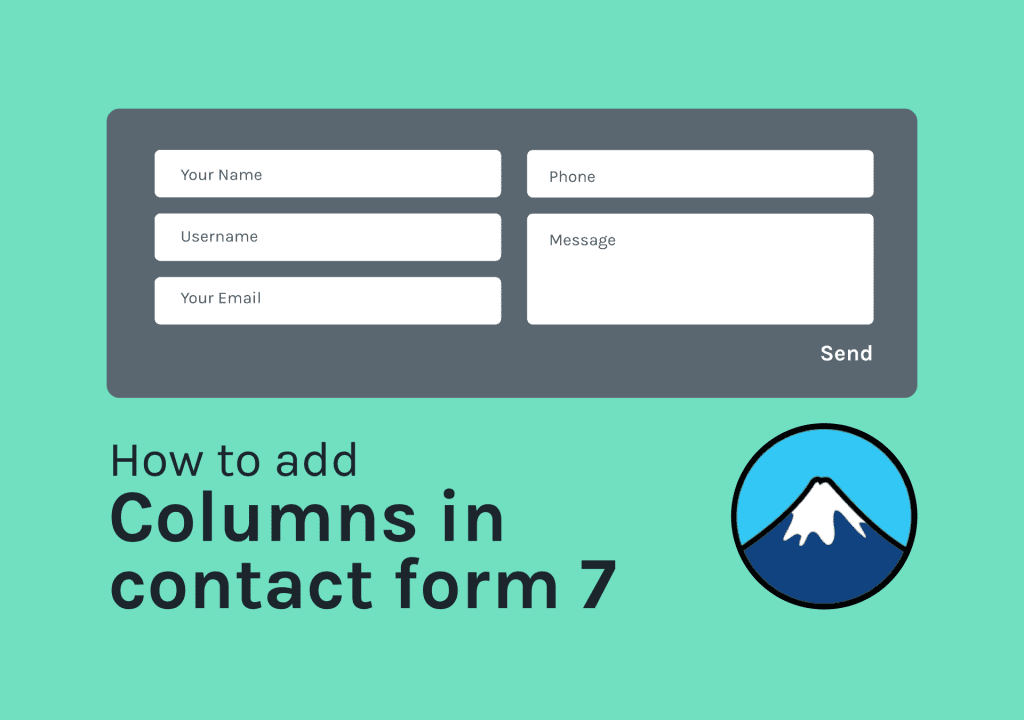
One of my friends today called me and asked for help. He is using the contact form 7 plugin in his blog to add a contact form. Now he wants to have a form with two columns. He told him the way to do it and decided to show it to my readers too. So, today I am going to show you how to add columns in Contact Form 7 free plugin.
OK let’s dive in.
Step 1 – Installing Contact form 7 plugin and creating the form
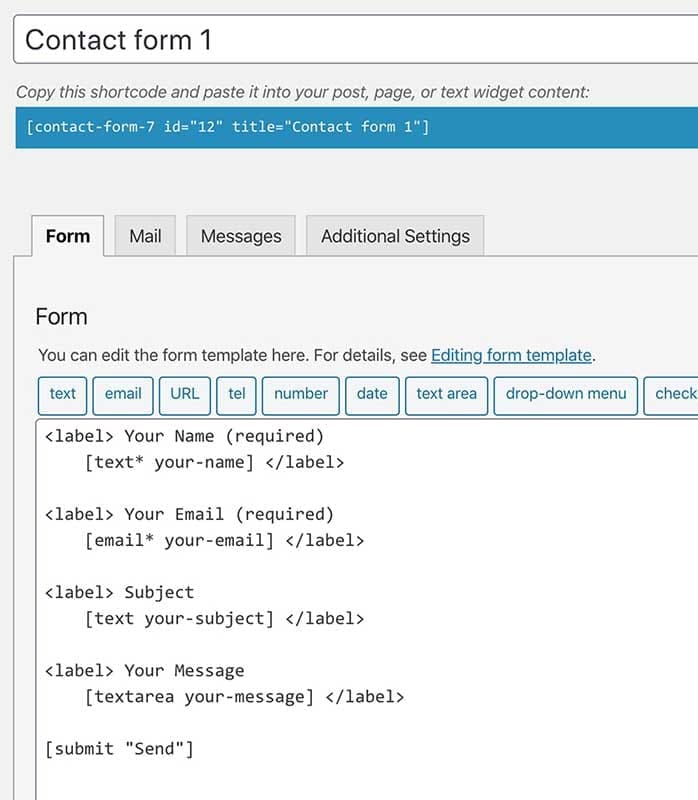
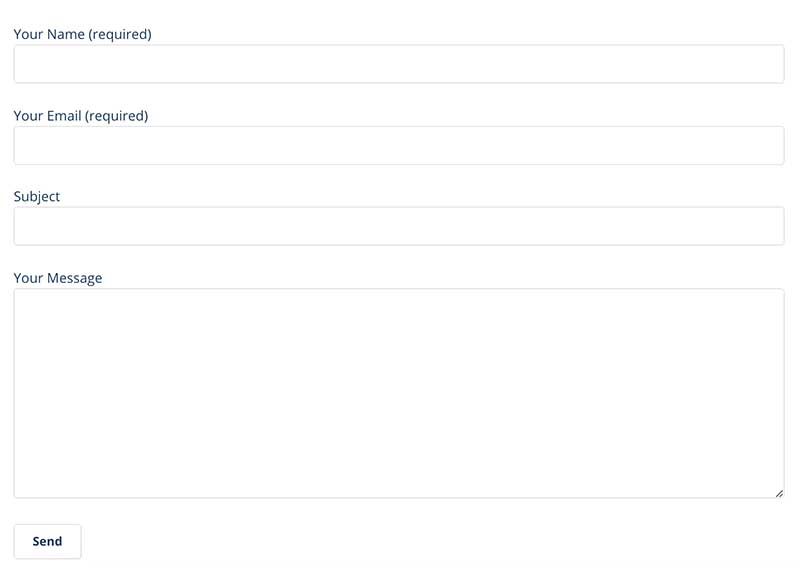
Go to Plugins > Add New and search for it. Once you find it, install the Contact Form 7 plugin from the WordPress plugin repository and create a basic form with the fields you want. Below you can see what I did.
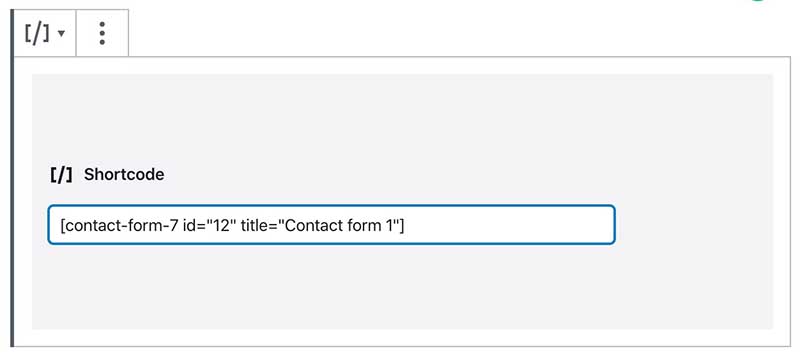
Step 2 – Adding form to the page
The next step is to add the form to the contact page. Create the page and add a Shortcode Block(Gutenberg block). Then paste the shortcode which you can copy from the Contact Form 7 form you just created( The text with the squire brackets). This will grab the form and show it on the front end.
Step 3 – Lets add 2 columns in contact form 7
OK. So we just added our form to the contact page. But this is not what we are looking for, right? We want to have columns. Not just a simple form like this.
Now, let me show you how to add columns in contact form 7. For that part, for making the two columns layout, we are using the responsive grid system created by Graham Miller. (Actually, you can write your own grid system with CSS3. But it is a time-consuming task. And why do we have to re-invent the wheel? right. 😉 ).
Anyway, go to responsivegridsystem.com and generate the two columns (or more columns if you want) grid code with Graham’s wonderful calculator.

Go ahead and copy the CSS code. The entire CSS code shows top and bottom. (You will see there are two CSS snippets and one HTML code). You can paste this in the Dashboard > Appearance > Customize > Additional CSS area or in the child theme’s style.css file. The third way is to use a third-party plugin like Simple Custom CSS and JS. Do it the way you prefer. It’s up to you.
Another thing, Instead of those methods, you can directly paste the code inside an HTML Code Block on the page itself. If you do that don’t forget to paste the CSS code inside <style>…..</style> tags.
Next you want to copy the HTML code and past it in the Contact Form 7 form design window. You will have to create a few rows to match with the count of form fields you have in your form. Then cut and paste fields inside the columns. Also, you can have just a single row with two columns. Like in the second version. Use the best suit for your form.
Use the trick and create something nice yourself. Feel free to ask any questions in the comments area. I will try to be responsive as much as I can.